Поиск по сайту...
Русский
Вход
/
Регистрация
Новости
Галерея
Материалы
Контакты
F.A.Q.
Модели
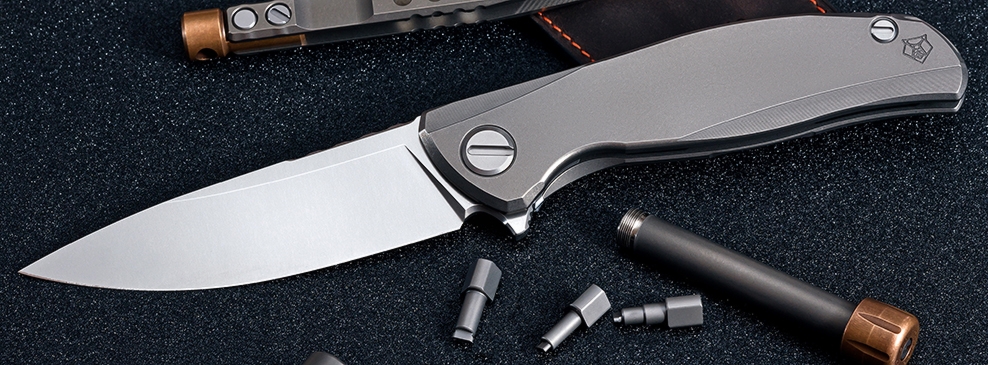
Quantum Gen.2
Design by S.Shirogorov ©
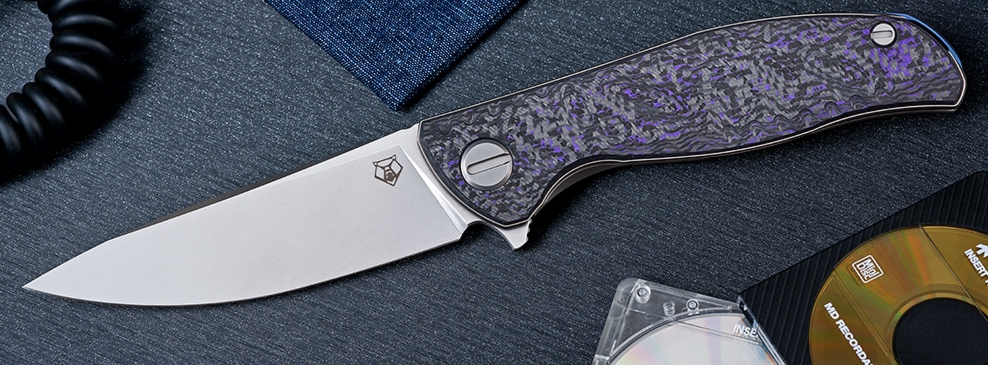
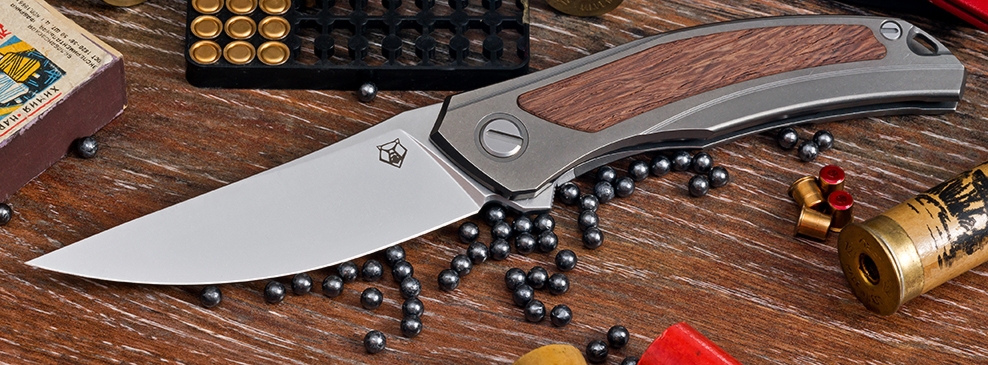
F95T CD
Design by S.Shirogorov ©
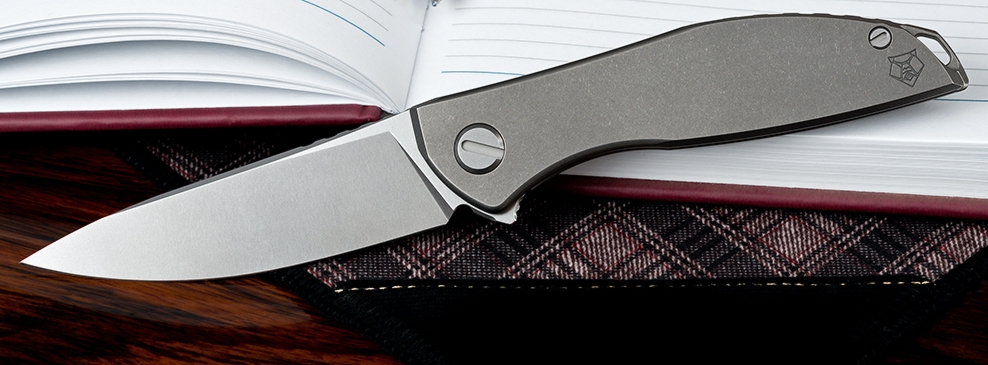
F95 Zero
Design by S.Shirogorov ©
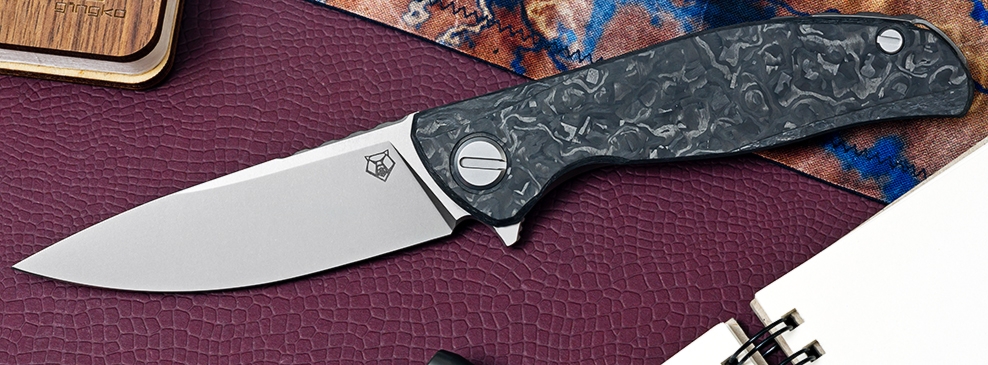
Quantum Ursus NL
Design by S.Shirogorov ©
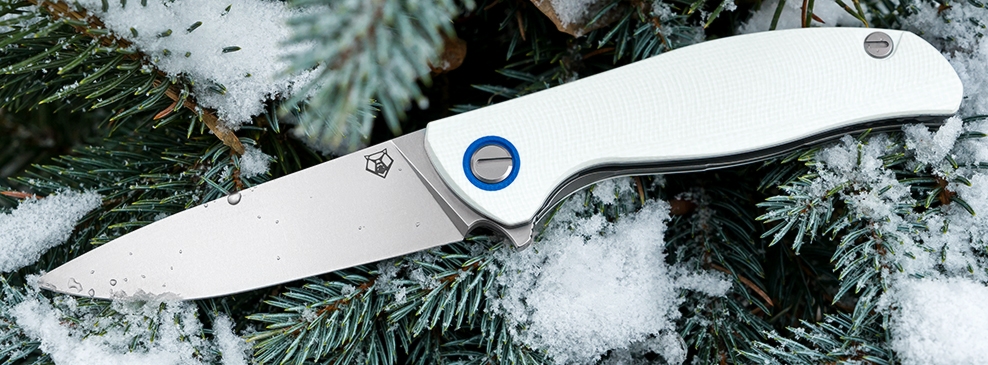
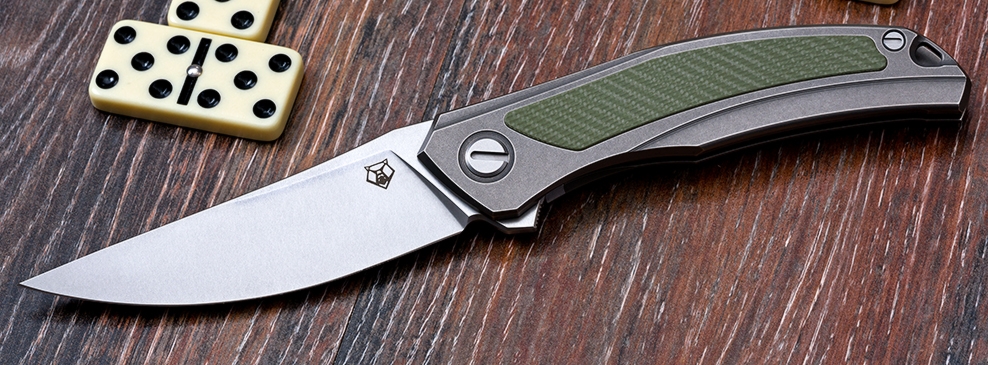
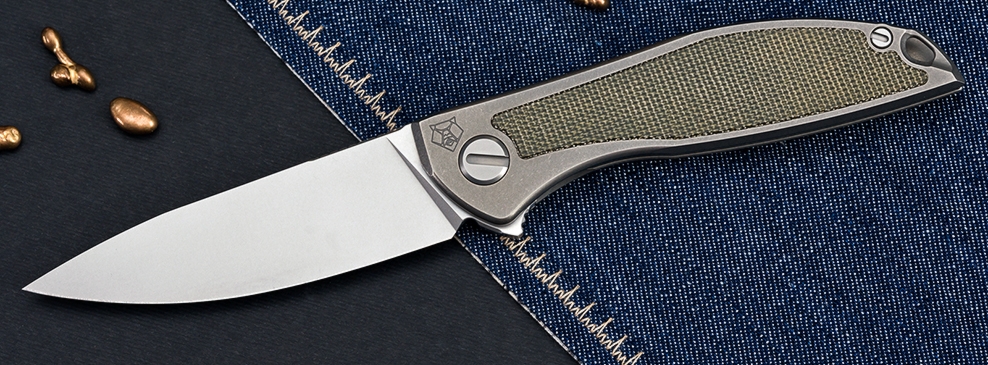
F3 NS
Design by S.Shirogorov ©
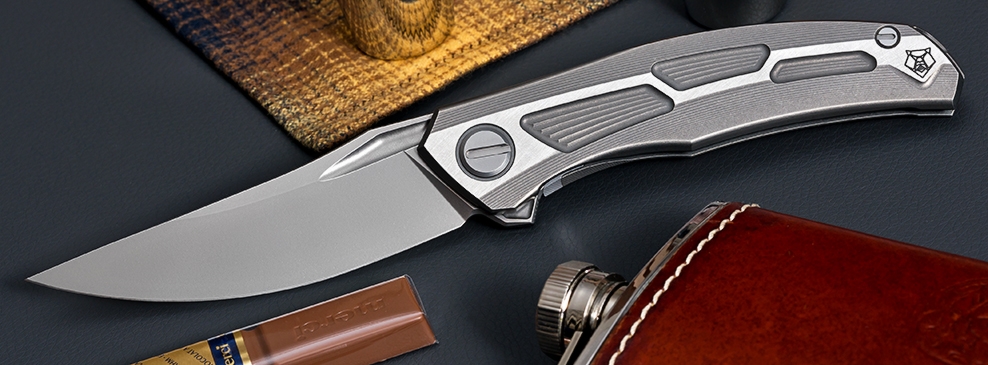
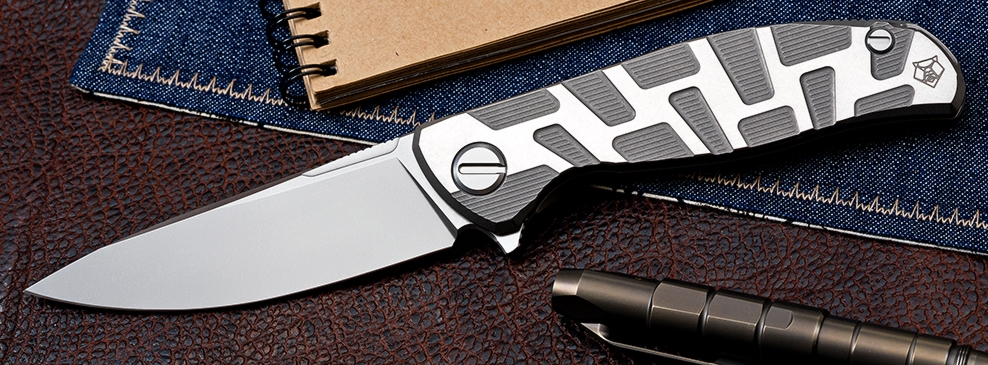
F3
Design by S.Shirogorov ©
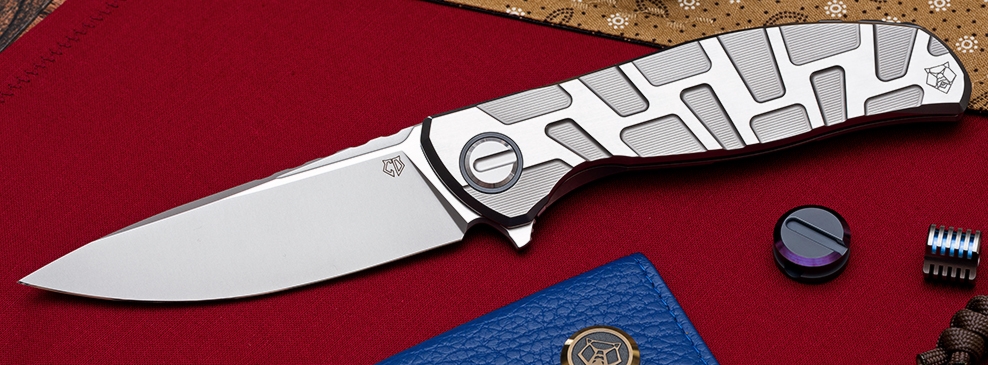
Quantum Ursus NL
Design by S.Shirogorov ©
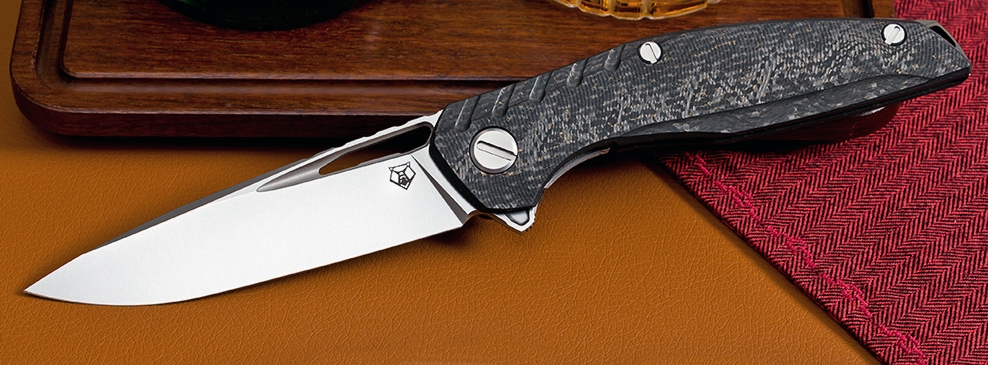
F95T 3M
Design by S.Shirogorov ©
NeOn NL
Design by D.Sinkevich ©
111 Gen.5
Design by S.Shirogorov ©
NeOn Zero
Design by S.Shirogorov ©
Hati Gen.3
Главная
/
Авторизация
Логин:
Пароль:
Войти